
Editing a service
Click on the blue "pen" icon to begin editing
Once you’re on the “Services” page click on the blue pen icon to begin editing as shown in the screenshot below.
After clicking on the "Edit service" button you will be presented with the following form if you are editing a Service:

- Title (required) - enter the title of your service, for example “API”, “Queue System” or “Website”.
- Select Type (required) -this value cannot be changed. When editing a service you are unable to turn it into a group.
- Description (optional) - this is the best place to describe your service, this description is only visible in the dashboard when hovering over the information icon next to a service’s name in the services list
- Parent (optional) - in this dropdown you can select whether a service will be a part of a group or not. For example you can place all backend services into a group called “Backend” to keep things organized.
- Show Historical Uptime (optional) - if selected we will calculate the service’s historical uptime based on incidents from the last 30 or 90 days. When enabled we will display the service’s historical uptime in the dashboard as a percentage and also on your statuspage.
- Historical Uptime range (only shown when show historical uptime is enabled) (required) - choose whether to display the historical uptime of your service from the last 30 or 90 days.
90 days historical uptime for services is only available for users on the Startup plan.
Editing a group
Click on the blue "pen" icon to begin editing
Once you’re on the “Services” page click on the blue pen icon to begin editing as shown in the screenshot below.
After clicking on the "Edit group" button you will be presented with the following form if you are editing a Group:
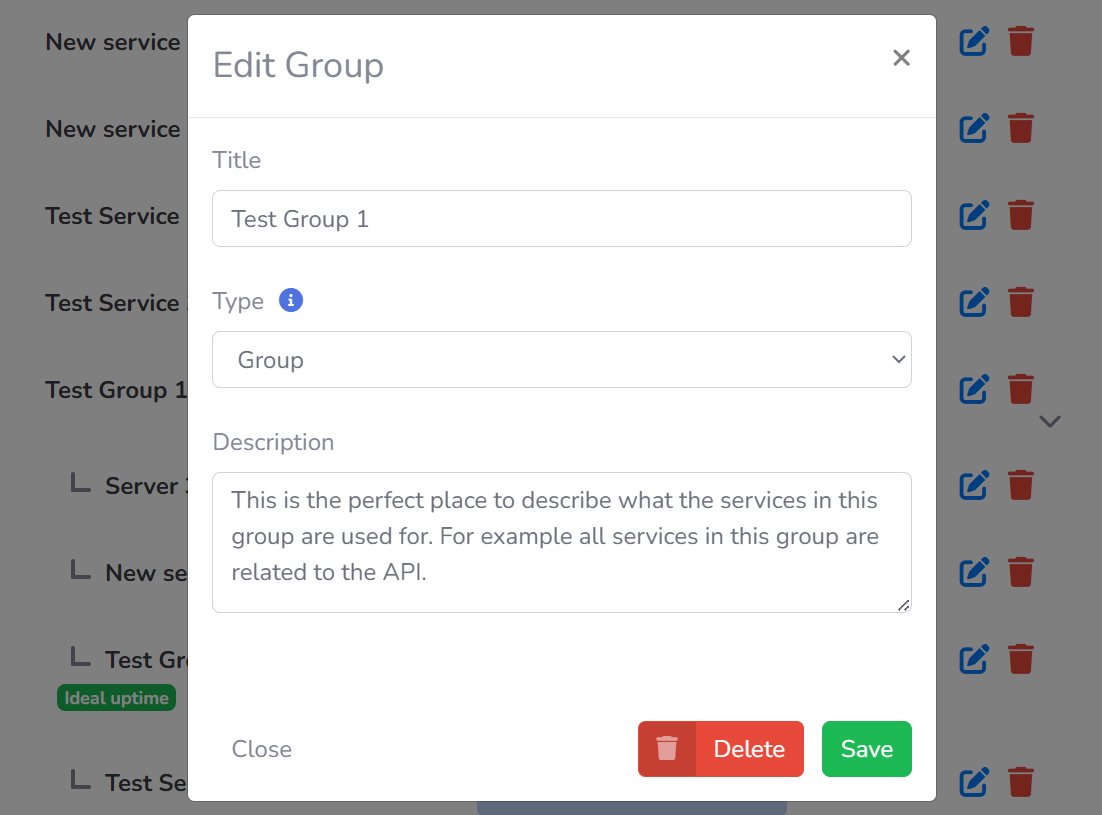
- Title (required) - enter the title of your group, for example “API services” or “Network”.
- Select Type (required) -this value cannot be changed. When editing a group you are unable to turn it into a service.
- Description (optional) - this is the best place to describe your group, this description is only visible in the dashboard when hovering over the information icon next to a group’s name in the services list